Inner dress - Making
process
|
|
2011. 1.17.
|
|
 Click 100%
|
|
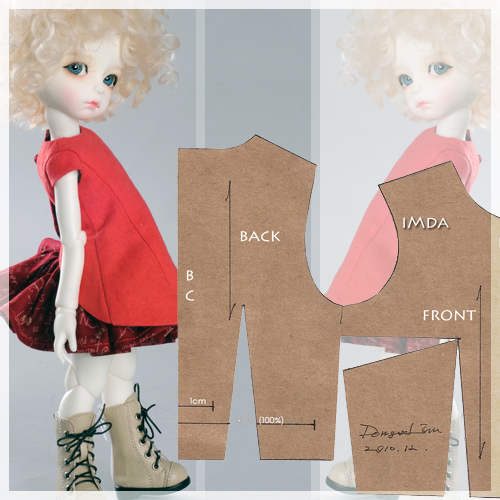
Pattern
PDF File (upload
2019.1.28.)
|
|
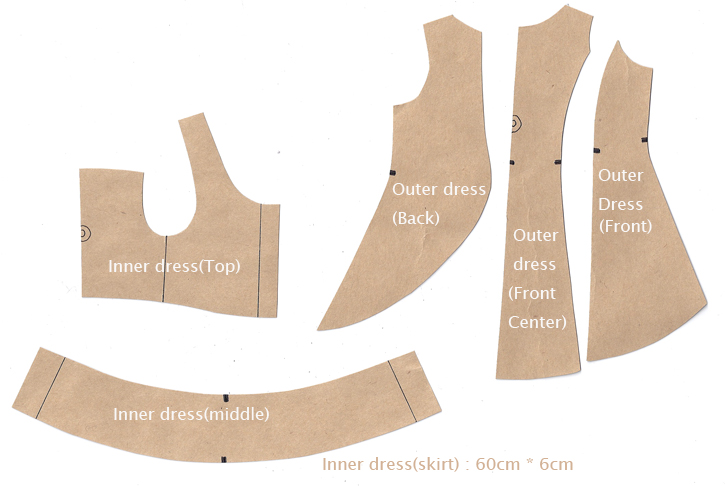
이너드레스 만들기 Inner dress(skirt)
패턴:: 이너드레스(패턴
上)
이너드레스(패턴
中)
이너
드레스 (하) : 60cm * 6cm
Pattern: Inner dress (pattern Top,
Middel, Skirt 60*6cm)
|
|
|
|
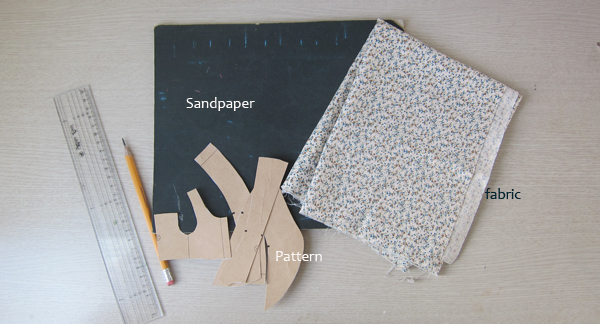
준비물:
① 제도판 (제도판이 없을 경우 사포를
하드보드지에 딱풀로 붙여서 만들어 둠)
② 원단: 패키지에는 레드
코튼 원단이 들어있겠지만, 시연을 위해 밝은 원단을 사용함.
③
패턴: 초보자를 위해 시접을 제외한 패턴을 사용(상급자는 시접포함
패턴 사용할 것)
④ 쵸크펜: 여기에서는 잘 보이기 위해서 연필을
사용
⑤ 시접자: 없는 경우 일반 자를 사용할 것
Prepare
1. Drawing board (If you don't have a drawing board, prepare it that sandpaper pastes on hardboard instead of a drawing board).
2. Fabric: There is red cotton fabric in package, but I used bright fabric to explain.
3. Pattern: I used pattern without a margin to seam for beginner (expert use pattern with a margin to seam.)
4. Chalk : I used pencil to explain.
5. Ruler for a margin to seam or normal ruler.
|
|
|
|
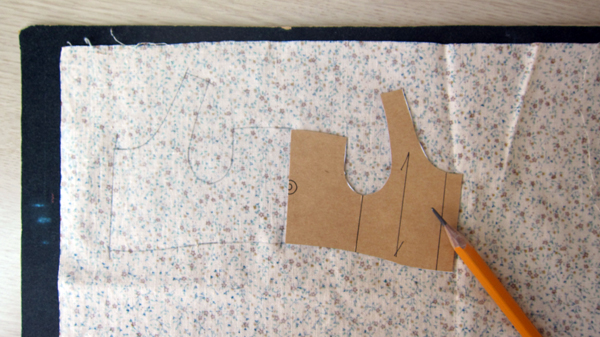
1. 제도판(사포) 위에 원단을
뒤집어 놓고 패턴(상)을 그린다.
Turned over fabric on the drawing board(sandpaper) and draw pattern(top).
주의사항: 식서방향에 주의
할 것! (원단의 원래 폭이 있는 쪽, 예를 들어 구멍이 뚤린 방향이 식서방향임)
패턴의
식서 방향과 구멍의 줄을 맞추어서 패턴을 그려준다. (늘어남이 덜한
부분이 식서)
|
|

|
|
2. 이너드레스 상판, 중간을 모두
그린다.
Draw pattern: all tops and middles.
|
|
|
|
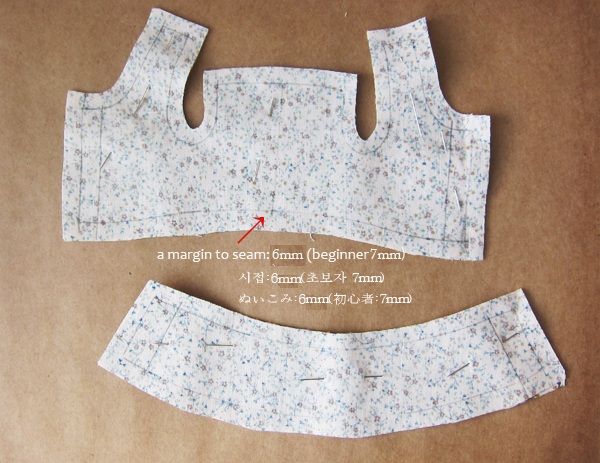
3. 시접분 0.6cm를 바깥쪽으로 그려준다.
초보자라면 0.7cm그린다.
미싱, 바느질에 자신 있다면 시접분 포함
패턴을 사용하여 정확히 0.6cm 들어가서 바느질 하면 된다.
Draw 6cm a margin to seam outside (beginners: draw 7cm). If you can sew skillfully, sew into 6cm include margin to sew.
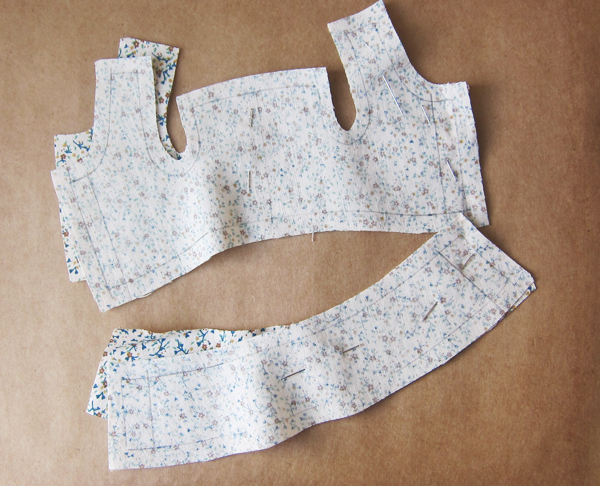
4. 원단을 두장 겹쳐서 시침핀을 꽂아서
자른다. (패턴 두장씩 만들기)
Pin and cut overlapping fabrics. (make two)
|
|
|
|
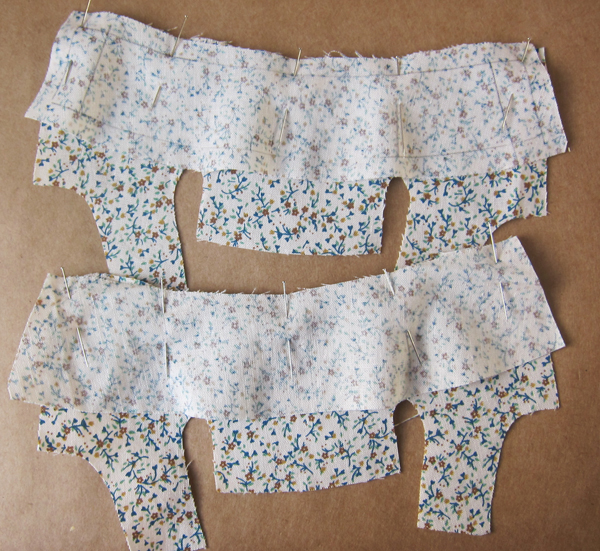
5. 다시 분리
Separate again.
|
|
|
|
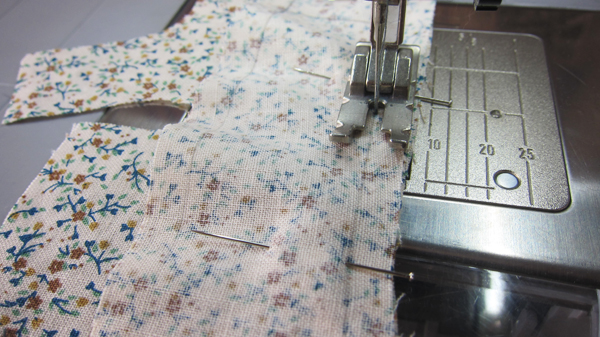
6. 이너드레스(상)과 (중)을 실핀을
꽂는다. 두 장 모두.
Pin all Inner dress(Top) and (Middle)
|
|
|
|
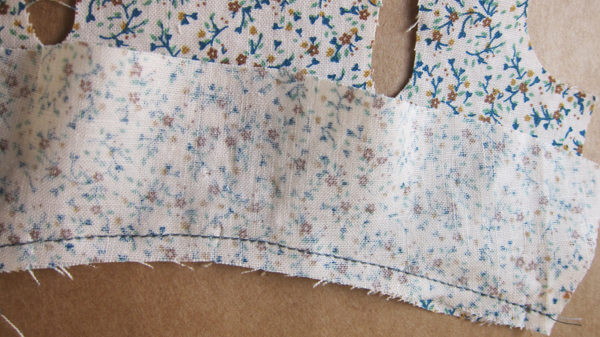
7. 미싱으로 박음질 한다. ^^
Backstitch by machine
|
|
|
|
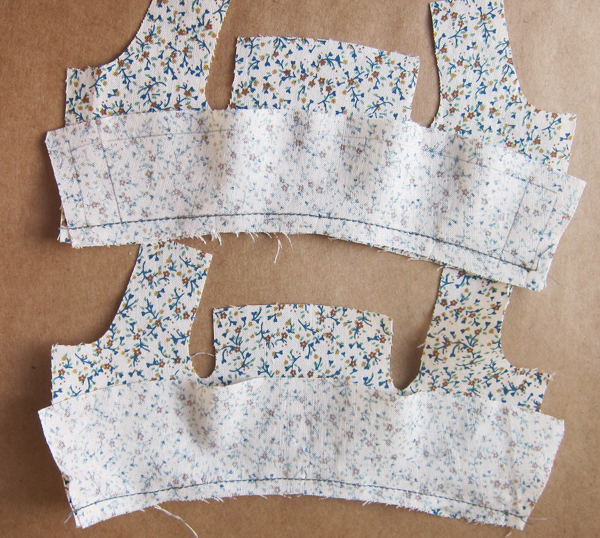
8. 박아진 모양
After stitch
|
|
|
|
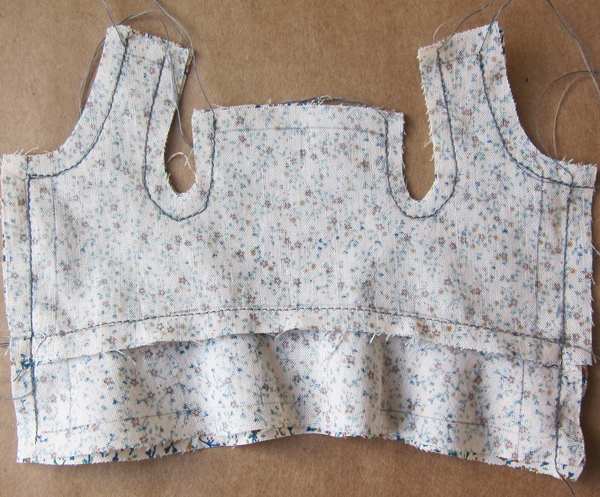
9. 두 장 모두 박음질
Backstitch two all.
|
|
|
|
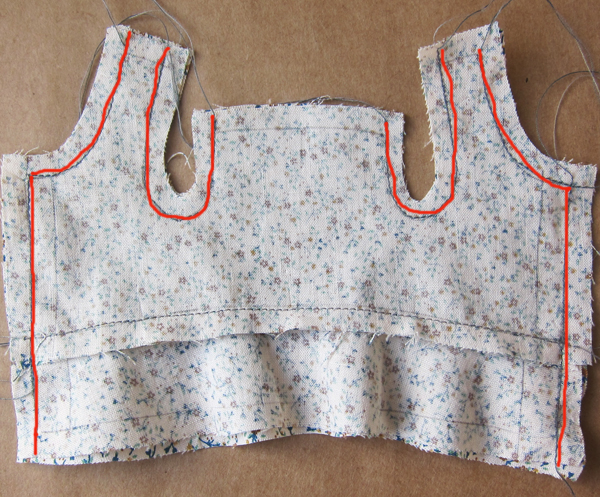
10. 두 장을 겉과 겉이 마주보게
겹친 후 사진과 같이 박아준다.(진한 실로 박음)
박음질
한 부분이 안보인다면 아래 사진 참조.
Make two fabrics's outside and outside confront, and backstitch like a picture (use dark color thread). If you can't find backstitch part in the picture, refer to under the picture.
|
|
|
|
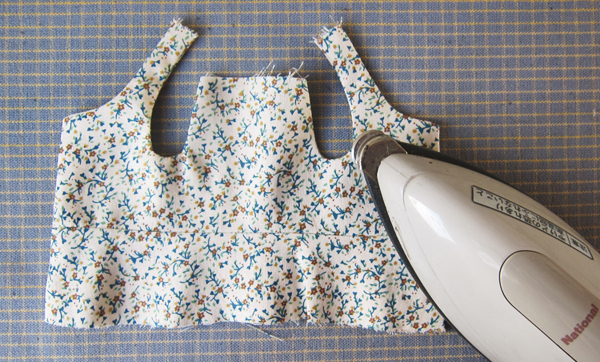
11. 붉은 선이 박음질 선.
red line is backstitch line.
|
|
|
|
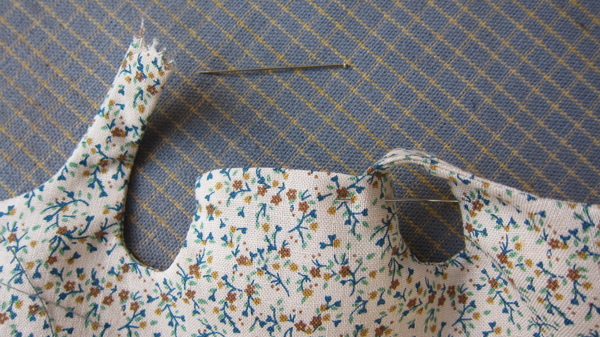
12. 뒤집어서 다림질한다.
뒤집기 전에 곡선부분은 시접을 0.3cm남겨두고
잘라낸다.
Turn over and iron out.
*before turning over, cut a curved line(but save margin to sew up 0.3 cm).
|
|
|
|
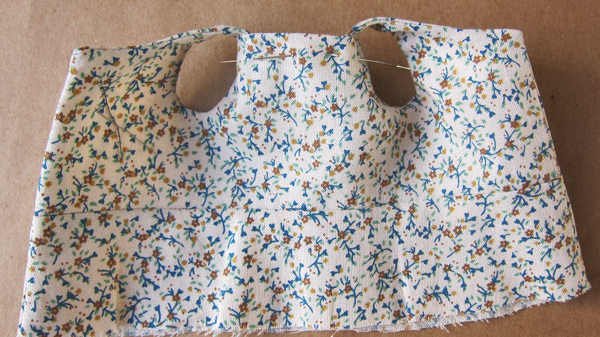
13. 어깨 끈 부분을 앞판 네크라인
부분에 넣어주고 핀으로 고정.
Put shoulder strings into neckline, and pin.
|
|
|
|
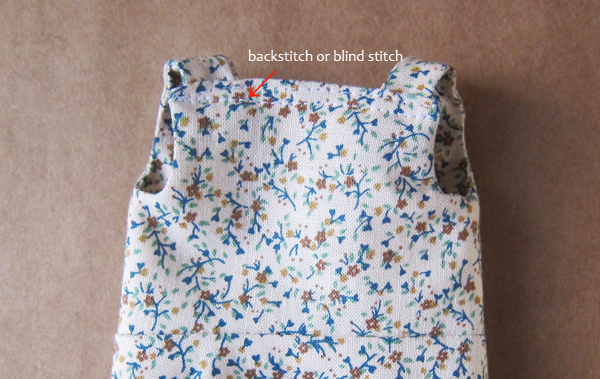
14. 양쪽 모두 고정한 모양
After pin.
|
|
|
|
15. 원래는 공그르기를 해서 예쁘게
마무리하면 좋으나 여기서는 박음질 ㅡㅡ;;
blind stitch is better than backstitch (but I backstitch :/)
|
|
|
|
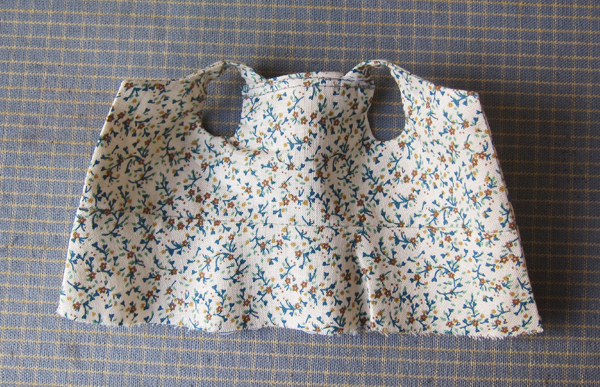
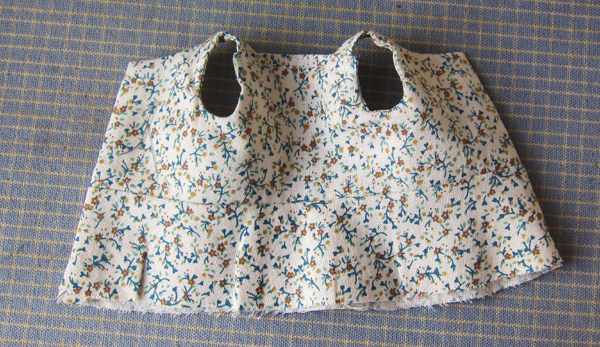
16. 박음질 한 후, 펼쳐 본 모양
(겉과 속의 구분이 없는 원피스 상판 ^^ )
After backstitch, spreading form.
|
|
|
|
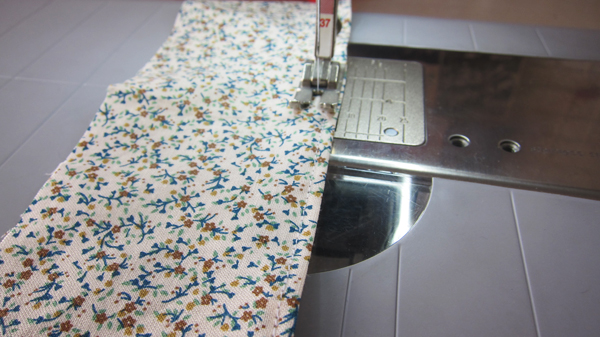
17. 앞에서 본 모양
|
|
|
|
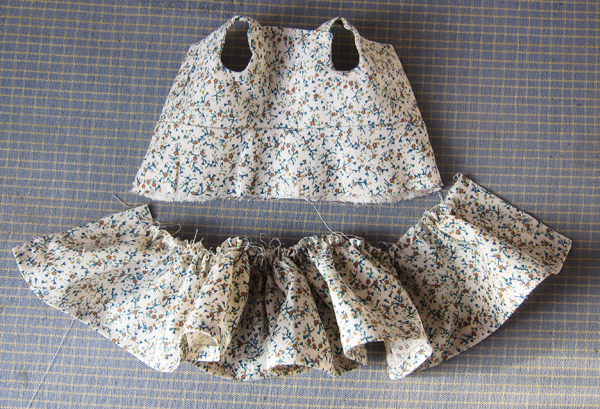
18. 치마단을 만들어 준다. 60cm*6cm(시접
불포함)을 시접을 0.6~0.7cm 넣어주고 재단 후,
그림과
같이 밑단을 두 번 접어 박기한다. 오버록 처리해도 됨.
Now make skirt. cut a fabric(60cm x 6 cm) with a margin to seam(0.6~0.7 cm). Then, fold bottom part twice and backstitch.
|
|
|
|
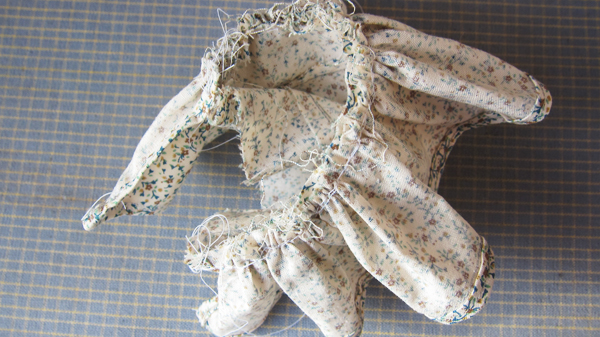
19. 밑 단을 정리했으면 윗 부분을
크게 홈질 또는 큰 땀으로 미싱박기 한다.
실을
잡아 당기면 사진처럼 주름이 잡힌다.
Then, widely broadstitch top part or sew by machine widely. Pull the thread, then become crumpled like this picture.
|
|
|
|
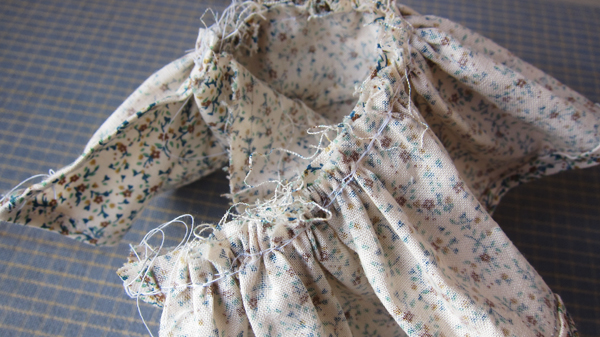
20. 상판의 한 겹만 잡고~ 상판
겉과 치마단의 겉이 마주보이게 한 뒤 시침핀을 꽂는다.
이
때, 주름이 골고루 퍼지게 잘 정리 할 것.
Take just an onefold (上), and make (上) and skirt outside and outside confront. then pin. *wrinkles have to spread well.
|
|
|
|
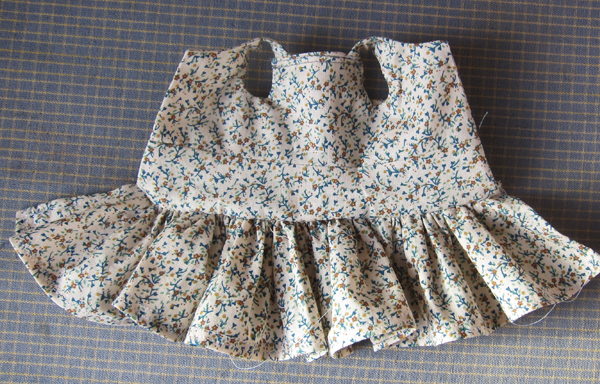
21. 바느질한 모양. 아~ 정말 지저분하다.
ㅡㅡ;;
After sewing. (it's a little messy :p)
|
|
|
|
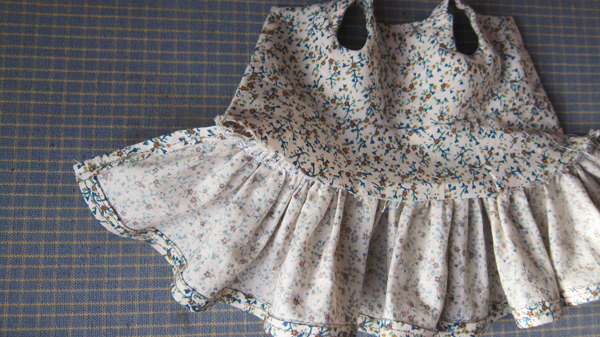
22. 겉에서 본 모양
the outside
|
|
|
|
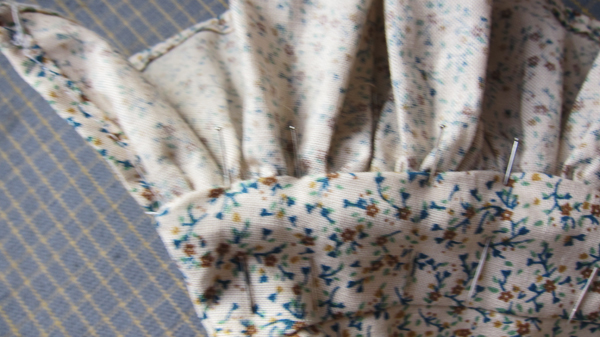
23. 안쪽 모양.
the inside
|
|
|
|
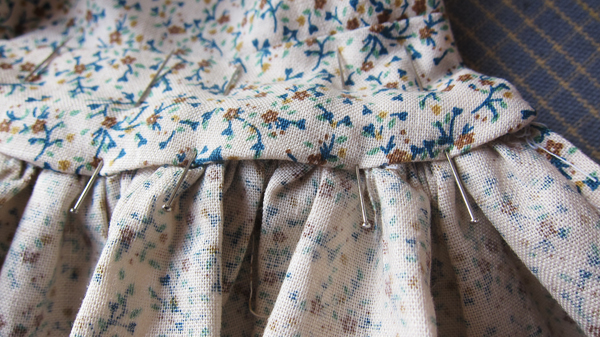
24. 박음질이 안된 상판의 원단을
접어서 지저분한 시접을 밀어 넣고~ 시침핀으로 고정한다.
Fold messy fabric(上) which part didn't backstitch, and put inside, then pin.
|
|
|
|
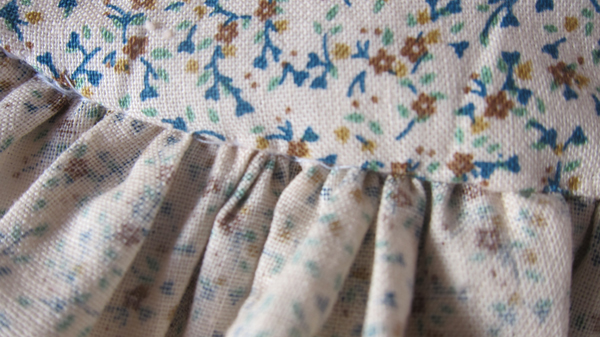
25. 시침핀으로 깔끔하게 고정한다.
Pin neatly
|
|
|
|
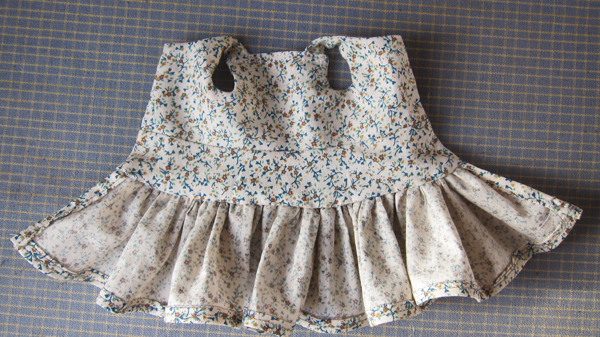
26. 공그르기
Blindstitch
|
|
|
|
27. 안쪽도 깔끔함 ^^
Now the inside also looks neat. :)
|
|
|
|
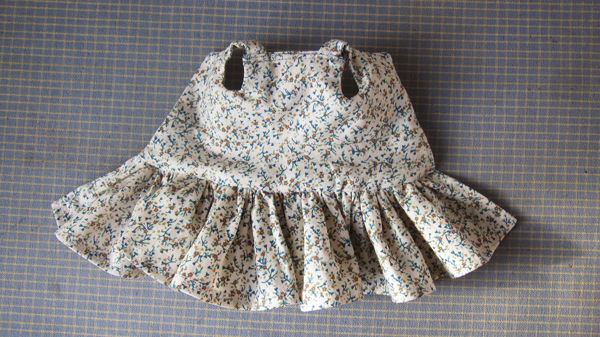
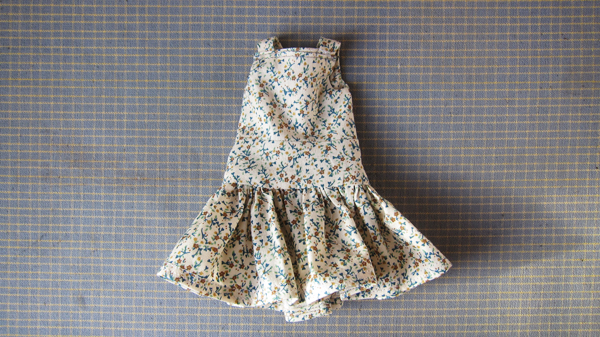
28. 겉은 더 깔끔함 ^^*
And the outside.
|
|
|
|
29. 똑딱이 몇 개 달아서
완성~
Sew some buttons on
|
|
|
|
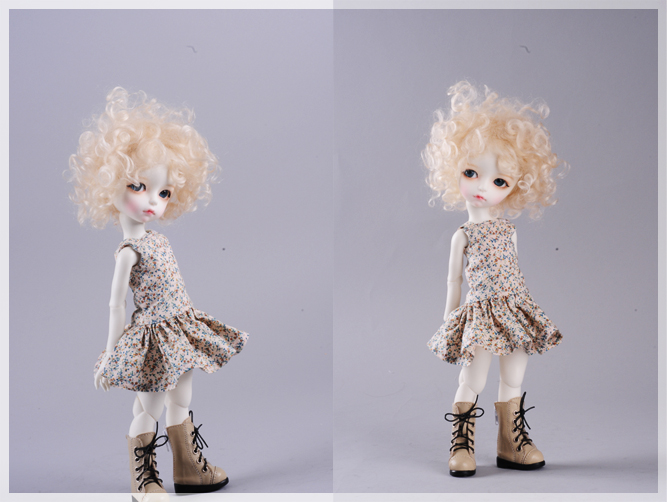
30. 모딜리가 입고~
Modigli dressed in Inner dress. :)
Tip: 좀 더 퍼지는 치마를
만들고 싶다면 주름분을 더 많이 줍니다. ^^
이너드레스
하단의 원단폭을 70~90cm까지 줄 수 있지만, 원단 두께에
따라 조정할 것.
Tip: If you want to make a well pleated skirt, put more wrinkles. :)
|
|
|
![]() INCLUDING :
INCLUDING : ![]() Please refer to the
sewing room for details.
Please refer to the
sewing room for details.![]() The color in the image could look slightly different from
the actual product.
The color in the image could look slightly different from
the actual product. 


